eDiscovery is the process of finding, preserving, analyzing,
and producing content in electronic formats as required by litigation or
investigations. With SharePoint 2013 you can now save time and help reduce
legal risk with In-Place Hold, near real-time search, and handle more types of
content. Users can now perform eDiscovery across SharePoint, Exchange, Lync,
and file shares—all from one location. Protecting content is easier by using
In-Place Hold, identifying and reducing the amount of content with queries, and
exporting the results into an offline format that can be handed off for legal
review.
The key components of eDiscovery are:
- SharePoint eDiscovery center
- SharePoint in-place holds
- SharePoint eDiscovery export
- Enterprise-wide Discovery
In this post, we will look at configuring the eDiscovery
center in the SharePoint 2013 and creating a case site that is designed for
in-house legal teams to perform their eDiscovery work.
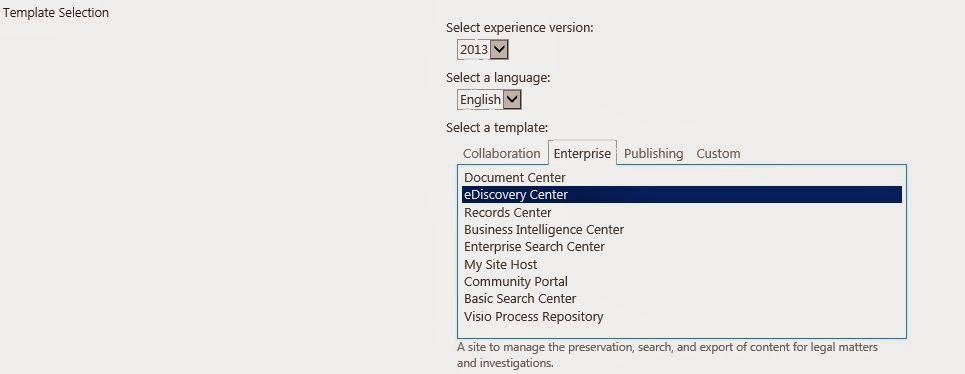
- To create a new site collection, select the “eDiscovery Center” as the template from within the Enterprise templates group and provide other required information and click ok.
- The home page of our site will now look like

- Click on the Create new case button to create a new case.


- The new case site created will have options to creating eDiscovery sets where you can find and hold legal hold on contents and search and export contents. To create a new eDiscovery set, click on the 'New Item' link on the eDiscovery sets section.


- On the new page, click on 'Add and manage source' link to add source contents and Save.

- On the case home page, the In-Place Hold Status will indicate “Processing” for a time and eventually indicate “On Hold”.

- After the hold is placed, if a user edits or deletes content in the site, a copy will be placed in the Preservation Hold Library. The hold also prevents anyone from deleting the site itself. To further filter the content click “new item” under Search and Export. In the New Query Item page, provide a name for the query and add search terms and filters as given below.

- Finally you can use the Download Results options in the Export section to download the results that can be send for the case.

No comments:
Post a Comment